 Illustrating a Frog Using Colored Pencil Illustrating a Frog Using Colored Pencil
 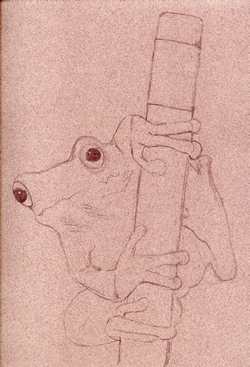 |
Step 1:Locate resources to work from. I check out books about the subject from the library (adult and children's sections), buy books from new and used book stores, visit local zoos, look at Internet websites, and go to parks to sketch and take photos. Your illustration should not be a replica of a single photograph. Use, for example, a position of a frog in one photo with color inspired by a live specimen. The more sources you review, the better feel you will have for the species' general color, size, and habitat.The positioning should be dimensional. Drawing a leaf that is flat and facing forward is very difficult to achieve a sense of space from, as would be a leaf that the viewer is seeing from such an extreme edge-on view that it's hard to identify it as a leaf rather than a wavy line; drawing a leaf that is curled and appears to be falling from a tree is much easier to represent. Work out your line drawing in advance, preferrably starting with gesture studies. When you have the line drawing worked out, move on to work on better paper and sketch the drawing out lightly. |
 |
|
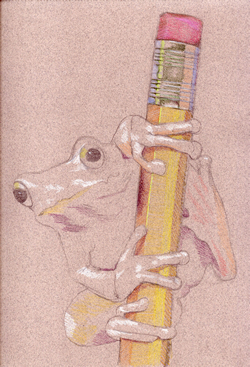 |
Step 2:Start putting in the highlights. Define where the light is shining from. You determine this. Your references do not determine it for you. If you decide that the light is shining from behind your left shoulder, the highlights on your drawing will be along the upper left edge of the surfaces.Put in the shadows. Avoid using black. Instead, use combinations of dark green, dark red, purple, and brown. Black gets too stark too quickly and can overpower the drawing in its early stages. If your light source is behind your left shoulder, the shadows will fall beneath the structures and to the right of them. After the highlights and shadows have been determined, you might choose a color that you're confident about and that will cover a large part of the illustration. In this example (to the left), that was the yellow of the paint on the pencil. I wasn't as confident about which colors I would use to show the frog's coloration, but putting the yellow of the pencil into the illustration guided me in the color composition of the overall drawing.
|
|
|
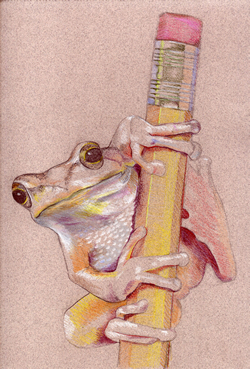 |
Step 3:Move through the drawing from bigger to smaller, so that you're focusing on larger structures first, getting gradually more detailed over the span of time.Look for colors that aren't yet there to see if they need to be or where they might be emphasized. Reducing color to red, blue, and yellow helps to simplify this "check-point". In the spring peeper illustration, because the background of the page was a reddish-blue color, what I was primarily putting into this illustration to balance it was yellow. |
|
|
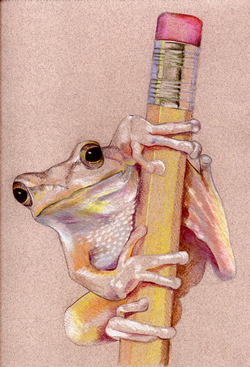 |
Step 4:Continue to enrichen the colors and emphasize further when one texture changes from another. For example, on the pencil, the texture of the eraser is quite different from the texture of the metal, which again changes in feel to the texture of the wooden part of the pencil. |
|
|
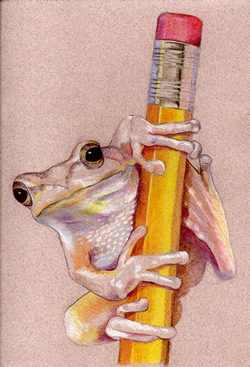 |
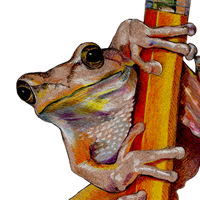
Step 5:Work on the highlights and dark areas, continuing to make the subject 3-dimensional, and begin to work on the smallest details, the invidual bumps on the frog and so on. You can use more pressure with the colored pencil at this last phase, as you now have confidence in which colors will need to be brought out the most. |
|
|
 |
Also see: |